Install and prepare the OS
Flash Ubuntu OS on USB Drive
Download the latest version of Ubuntu
Now that you have assembled your hardware, you will need to install the Ubuntu OS onto your device. To do that, we will need to create a bootable USB drive flashed with the latest Ubuntu OS (Currently 24.04.2 LTS). Follow the steps below:
Prepare a new USB drive of at least 8GB
On your working laptop, download the latest version of Ubuntu here (this might take around 30 minutes) - https://ubuntu.com/download/desktop -

Once the download is complete, you will need to verify the checksum of the downloaded file to ensure it has not been tampered with during the download
Verify the checksum of download
Click on "verify your download" and you should see a window appearing.

Open up your terminal (Mac) or Windows Power Shell (Windows) and run the following commands.
Mac:
Windows:
You are good to go if you see an "OK" in the output.
Download an ISO writer
After we download the ISO file of the latest Ubuntu version, we will need a tool to write this ISO file into the USB drive so that it is bootable when plugged into your NUC.
Download and install BalenaEtcher - https://etcher.balena.io/
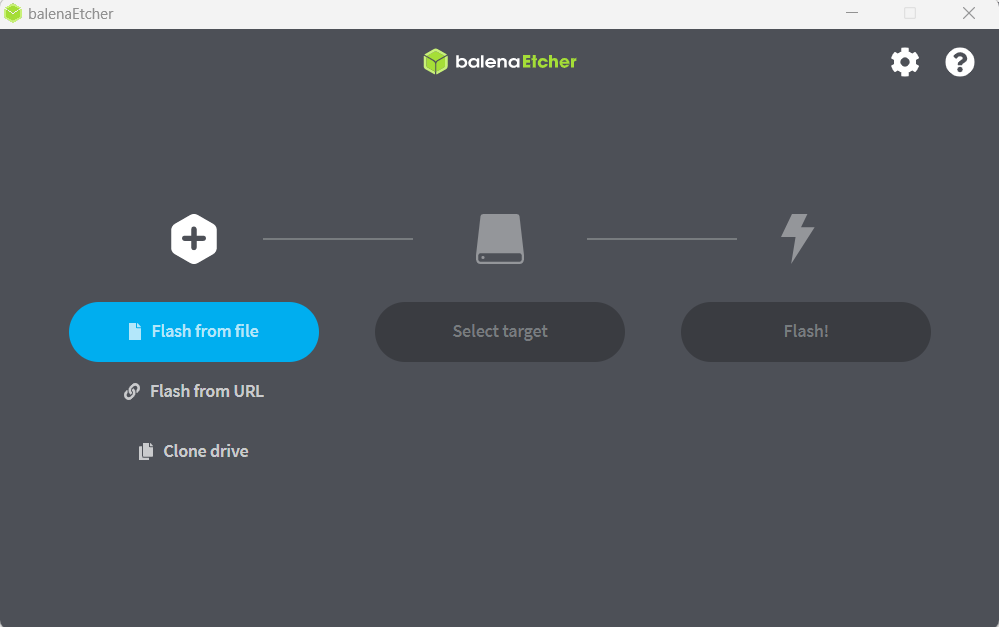
Open up BalenaEtcher and choose select flash from file

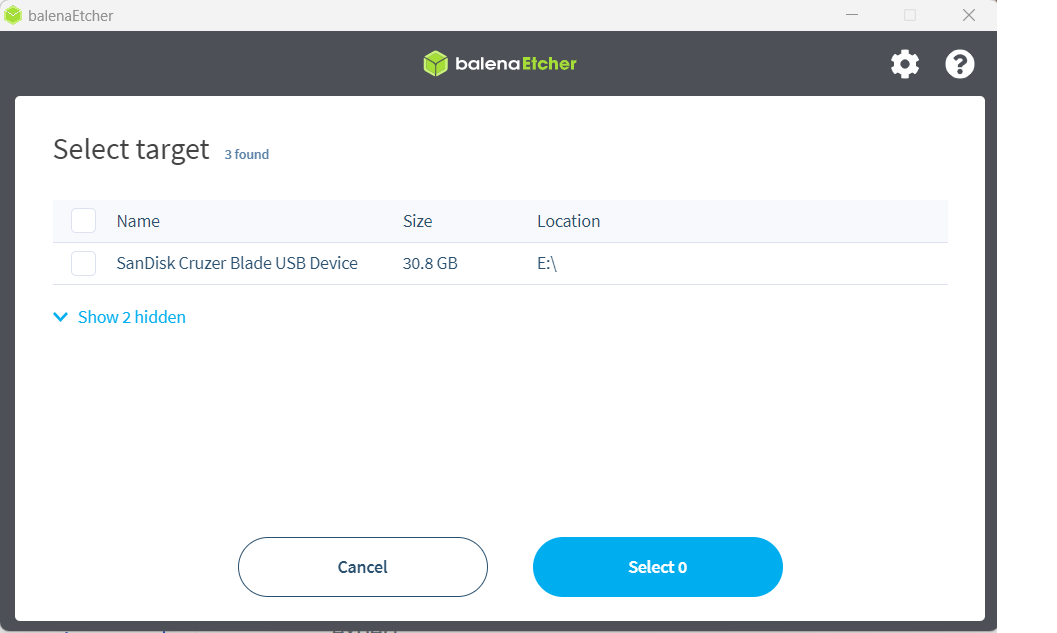
Select your new USB drive under the "Select target" option

Hit the "Flash!" button and wait for the process to complete

Install Ubuntu on your NUC (Node)
You will need to connect your NUC device to a keyboard and monitor for the installation process
Connect your node to your router using a LAN cable.
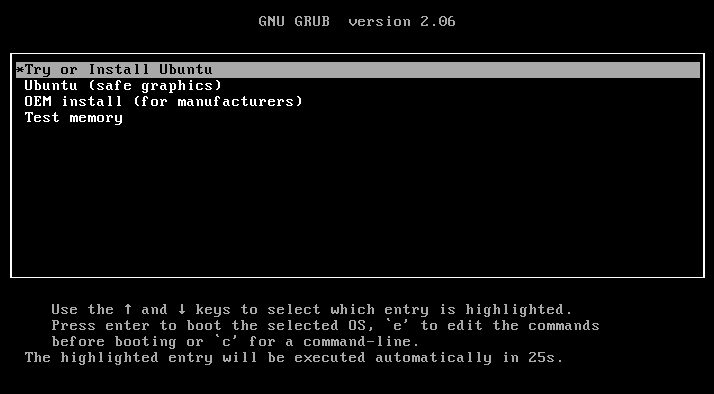
Plug your bootable USB drive into your NUC device and turn it on. Select Try or Install Ubuntu from the boot menu.

Choose the following options when prompted:
Install Ubuntu (not Try)
Connect to the WIFI network of your router
Minimal installation + Download updates while installing Ubuntu
Erase disk and install Ubuntu
Set your username and password + "Require my password to login"
Restart your device
Skip connecting to your online accounts
Skip setting up Livepatch
Select "No, don't send system info"
Disable location services
Your NUC device is now installed with the Ubuntu OS.
Install the SSH Server
Open up the Ubuntu terminal on your NUC by pressing CTRL + ALT + T and perform the following:
1) General updates
2) Install the ssh server
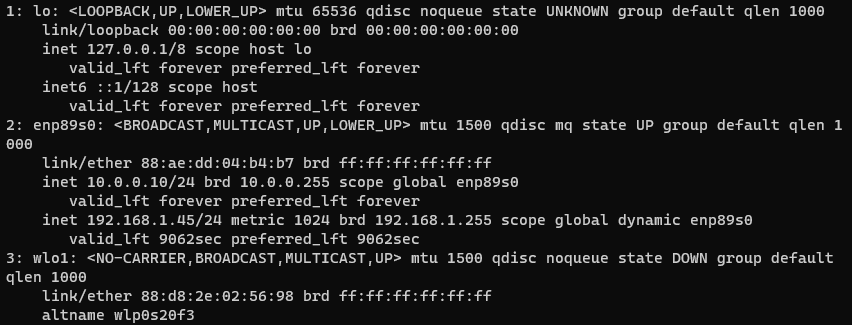
3) Get the IP address of your NUC device within your Node Router subnet.
Expected output:

Your NUC's IP address will be located under the wl01 interface - e.g. 192.168.xx.xx.
Write this down as you will need to use this IP address to access your NUC remotely and we will call this the node_IP_address moving forward.
You can now access your NUC (Node) remotely by running the following command while you are in the Node Router subnet and entering the password of the Node when prompted.
Note: This command will change slightly once you properly secure your Node device in the next section.
Prepare your OS
Install useful packages
curlallows you to query IP addresses, URLs, and the endpoints of internal services directly to test for connectivity and downloading files from the internetjqis a formatting packagehtopis a system monitoring tool
Configure timekeeping
We need to make sure the time on our device is the same with all other nodes so that we are able to sync with everyone else. If our timekeeping is off, we will start missing attestations (and rewards!).
First, install chrony
Stop and disable the default timekeeping service.
Start and enable chrony
Verify that chrony is running:
Expected output: Check that the time shown is correct and has low offset. i.e., system vs benchmark (NTP) time.
Last updated